This article is general beauty information. GlowNourish may earn a small commission from some links, at no extra cost to you — see our Affiliate Disclosure.
Contouring and highlighting sound intimidating — like something only makeup artists can pull off — but the concept is simple: shadow recedes, light comes forward. By adding a soft shadow where you want depth and a glow where you want lift, you can gently sculpt your features, define your cheekbones, and look "snatched" without anyone seeing the makeup at work. The trick is keeping it natural. Here's the beginner-friendly, no-stripes method.
The simple science of light and shadow
Your face naturally has high points (where light hits) and low points (where shadows fall). Makeup just enhances that:
- Contour = a shade or two darker than your skin, with a cool/grey undertone (like a real shadow, not orange like bronzer), placed where you want to add depth or slim an area.
- Highlight = a shade lighter than your skin (or a luminous shimmer), placed on the high points you want to bring forward and brighten.
That's the whole concept. Master placement and blending, and you've got it.
What you'll need
- A cream or powder contour (cool-toned, not orange)
- A highlight (cream or powder; matte concealer for a natural lift, or shimmer for glow)
- A bronzer (warm — for adding sun-kissed warmth, separate from contour)
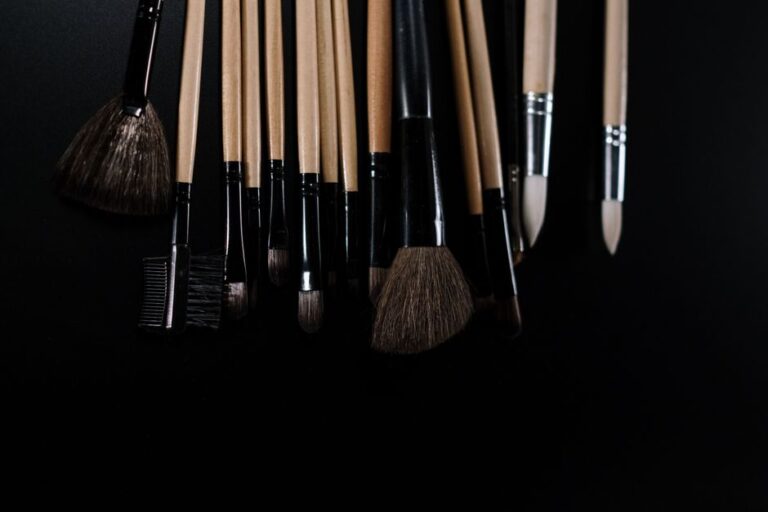
- Brushes or a sponge (see our best makeup brushes)
Beginners: cream products blend more naturally and are more forgiving than powders.
Where to place contour
Apply your contour to the areas where natural shadows fall:
- Under the cheekbones — suck in your cheeks to find the hollow, and place contour in that line, blending upward toward the ear. This is the classic "snatched" cheekbone.
- Temples / sides of the forehead — softens and frames.
- Along the jawline — defines and slims.
- Sides of the nose (optional) — for a slimmer-looking nose; very subtle.
Keep it light — you can always build. A heavy hand here is what creates obvious "stripes."
Where to place highlight
Apply highlight to the high points that catch the light:
- Tops of the cheekbones (just above your contour).
- Down the bridge of the nose.
- Cupid's bow (above the lip).
- Centre of the forehead and brow bone.
- Inner corners of the eyes to brighten and open them.
For everyday, a soft luminous highlight (or even a lighter concealer) looks "lit from within"; save intense shimmer for going out.
Step-by-step
Step 1: Start with your base
Apply foundation and concealer as usual — contour and highlight go on top of an even base. (See our foundation guide.)
Step 2: Contour
Apply contour in the placements above, a little at a time. Blend immediately — upward and back toward your hairline/ears — so there are no hard edges. The goal is a soft shadow, not a line.
Step 3: Highlight
Add highlight to the high points. If using cream, blend with a damp sponge or fingertip; if powder, sweep gently with a small brush.
Step 4: Add warmth with bronzer
Sweep a warm bronzer where the sun hits — forehead, cheeks, jaw — to tie everything together and stop the face looking flat. (Bronzer = warmth; contour = shadow. They're different jobs.)
Step 5: Blush + blend everything
Add blush to the apples of your cheeks for life and colour, then go over everything with a clean brush or sponge to blend all the transitions seamlessly. Blending is what makes it look like skin, not makeup.
Tips for a natural (not "stripey") finish
- Use cream products for the most skin-like, blendable result.
- Choose a cool-toned contour — orange = bronzer, not shadow.
- Build gradually — thin layers, blended as you go.
- Blend upward for a lifted effect.
- Less is more for everyday; you can intensify for evening.
- Match intensity to your skin tone — deeper skin needs a deeper contour and highlight to show.
Common mistakes
- Contour too orange or too dark — it reads muddy or harsh. Cool and subtle wins.
- Not blending enough — the cause of visible stripes.
- Highlight everywhere — keep it to the true high points, or skin looks greasy.
- Confusing bronzer and contour — bronzer warms, contour shadows; use both in their right place.
- Skipping blush — it adds the life that makes a sculpted face look healthy, not severe.
Frequently asked questions
What's the difference between contour and bronzer?
Contour is cool-toned (like a real shadow) and sculpts by adding depth; bronzer is warm and adds sun-kissed colour. Use bronzer to warm the face, contour to define structure.
Cream or powder — which is easier for beginners?
Cream. It melts into skin and blends more forgivingly. Powder is great once you're confident or for oily skin.
Where exactly do I put cheekbone contour?
Suck in your cheeks to find the hollow beneath the cheekbone, place contour in that line, and blend upward toward your ear. That's the snatched-cheekbone placement.
How do I keep it looking natural?
Use cool-toned, subtle products, build slowly, and blend thoroughly. For daytime, keep highlight soft and contour light — the makeup should be invisible, the effect visible.
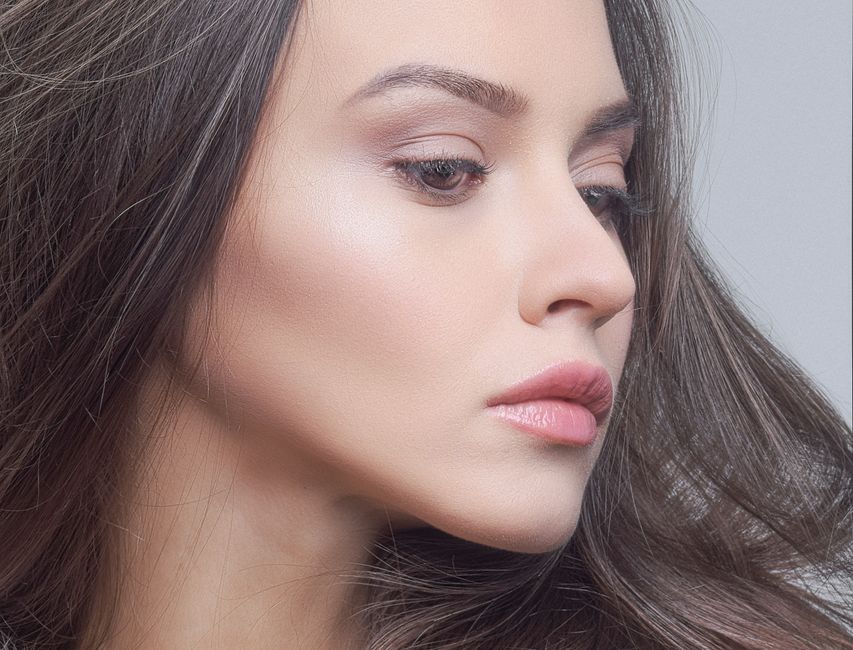
The bottom line
Contour and highlight are just shadow and light: a cool-toned shade under the cheekbones, jaw, and temples to add depth, and a glow on the cheekbones, nose, and brow bone to bring features forward. Use cream products, build gradually, add warmth with bronzer and life with blush, and — above all — blend. Keep it subtle and you'll look sculpted and glowing, with no one able to tell how.
Next: prep your base with the best drugstore foundations and grab the tools in our best makeup brushes guide.