 By Ava Sinclair, Beauty Editor
Reviewed & updated August 2026
This article is general beauty information. GlowNourish may earn a small commission from some links, at no extra cost to you — see our Affiliate Disclosure.
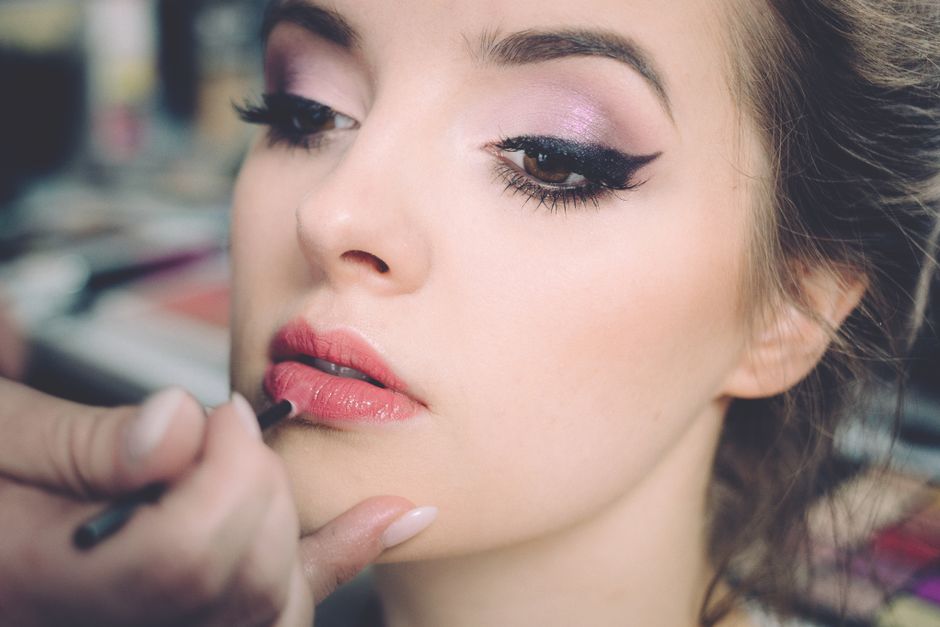
The secret to a sharp winged liner isn’t a steadier hand — it’s mapping the angle before you ever touch liner to lid. Most wonky wings come from freehanding it. Line the flick up with your lower lash line first, then just connect the dots. Here’s the foolproof method.
 On this pageCurated by Ava · 6 min read
Pick the right eyeliner first
Your tool makes a huge difference, especially as a beginner:
- Felt-tip / pen liner — the easiest for beginners. The pen-like tip gives control, like drawing. Start here.
- Gel liner + angled brush — the most precise and long-wearing, with a little more of a learning curve. Great once you're comfortable.
- Liquid liner with a brush tip — gives the sharpest, boldest wings but is the least forgiving.
- Pencil — softer and more forgiving for a smudged wing, but won't give a crisp graphic line.
For your first attempts, a felt-tip pen liner in a true black is the kindest choice.
What you'll need
- A felt-tip or gel eyeliner
- A small flat or angled brush (for gel)
- Concealer and a small brush (for cleanup)
- Cotton swabs and a little makeup remover
- Optional: tape or a wing stencil
The foolproof step-by-step method
Step 1: Prep your lids
Apply a little concealer or eyeshadow primer to your lids and set with a neutral shadow. This gives the liner something to grip, stops it smudging, and creates a smooth canvas.
Step 2: Map the angle of your wing
This is the secret to a flattering flick. Imagine a line extending from the outer corner of your lower lash line up toward the tail of your eyebrow. That's the angle your wing should follow — it naturally lifts the eye.
Step 3: Draw the wing (the flick) first
Counterintuitive but easier: draw the wing before lining your lid. Make a small, thin line following that angle from step 2, flicking outward and upward. Start small — you can extend it.
Step 4: Create the triangle
From the tip of your wing, draw a line back down to your lash line (about two-thirds of the way along your eye). This forms a triangle shape. Then fill in that triangle.
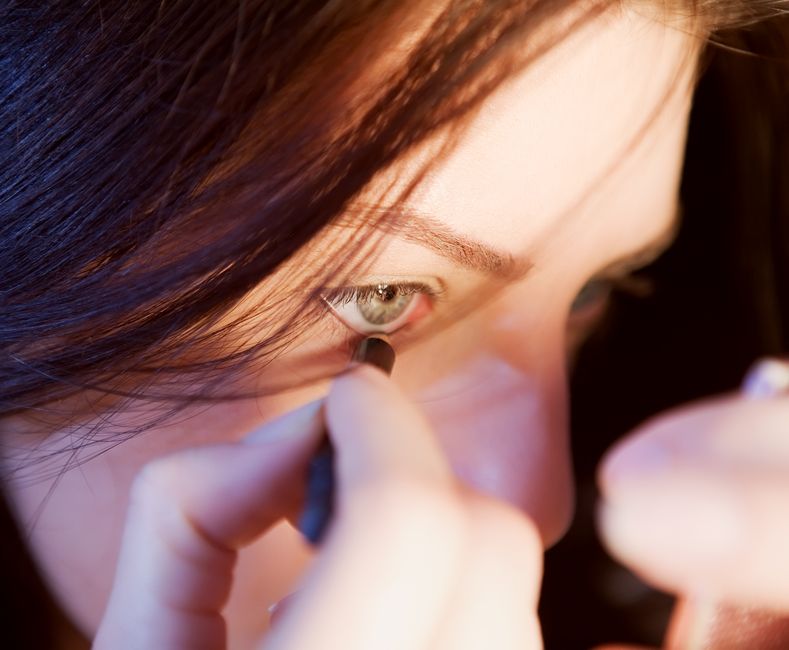
Step 5: Line the rest of the lash line
Now connect the triangle to the rest of your upper lash line with a thin line, keeping it close to the lashes. Make the line slightly thicker toward the outer corner and thinner toward the inner corner for a natural taper.
Step 6: Clean up and sharpen
Dip a small brush or cotton swab in a little concealer or makeup remover and run it along the bottom edge of your wing to sharpen the line and fix any wobbles. This single step makes any wing look pro.
Step 7: Match the other eye
Do the same on the other side, checking symmetry by looking straight ahead in the mirror (not tilting your head). It's normal for one eye to be your "good" side — practice evens it out.
Beginner tricks that genuinely help
- The tape trick: place a small piece of tape along the wing angle as a guide, draw against it, then peel for a clean edge. (Press tape on your hand first so it's less sticky.)
- Dots method: dot the tip of the wing and a couple of guide points first, then connect the dots into a line.
- Hood-friendly tip: if you have hooded eyes, draw the wing with your eye open and looking straight ahead, so the wing shows above the hood.
- Start thin: you can always thicken a wing; you can't easily shrink one.
- Steady your hand by resting your elbow on a table.
Common mistakes
- Starting with the lid line instead of the wing — makes symmetry harder.
- Going too thick too soon — build gradually.
- Wrong angle — always aim toward the brow tail, which lifts the eye; a downward wing drags it.
- Skipping primer — leads to smudging and fading.
- Not cleaning up — a quick concealer sharpen is what separates messy from sharp.
Frequently asked questions
What eyeliner is easiest for beginners?
A felt-tip pen liner. The pen-style tip gives the most control, like drawing a line.
How do I make both wings even?
Map the angle the same way on both eyes (toward the brow tail), draw the wing first, and check symmetry looking straight ahead. The tape or dots trick helps a lot.
How do I do a wing on hooded eyes?
Draw it with your eye open, looking straight into the mirror, and angle the wing upward so it's visible above the hood. Keep the lid line thin.
Why does my eyeliner smudge?
Usually oily lids or no primer. Prime and set your lids with a little shadow first, and choose a long-wear or waterproof formula.
The bottom line
A flawless winged liner comes down to a repeatable method: prep the lid, map the angle toward your brow tail, draw the flick first, make a triangle, connect the line, and clean up with concealer. Use a felt-tip pen to start, lean on the tape or dots trick, and practice — because that's truly all it takes. Soon the cat-eye that once defeated you will take thirty seconds.
Next: complete the look with our everyday natural makeup tutorial and open up your eyes with the best mascaras.
Read next

Related articles
- Retinol for Beginners: Start Without Irritation
- How to Get Rid of Acne: A Complete, Honest Guide
- DIY Coffee Under-Eye Serum for Dark Circles & Puffiness
- How to Find Your Perfect Foundation Shade (2026)
- 12 Best Drugstore Foundations Under $15 (2026)
- The 5-Step Skincare Routine for Beginners (2026)
Further reading & trusted sources
A small change with a big payoff
The trick to an even wing is mapping it with small dots and lining the wing before the lash line — most crooked wings come from freehanding it in one nervous stroke. A card as a guide helps while you learn.
Ava reads the ingredient list long before the marketing claims — what interests her is which actives are genuinely proven and which are just a pretty bottle and a big promise. She leads GlowNourish’s skincare, makeup and hair coverage with one simple test: would this advice still hold up if a dermatologist read it? Every guide is researched with the help of AI tools and then human-edited for accuracy — no invented ‘clinical results’ and no fake reviews. For a real skin concern, she’ll always point you to a professional.